
Posted on

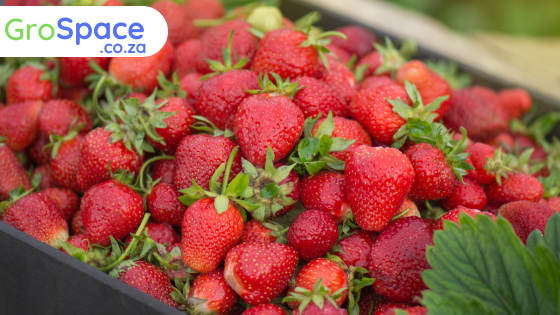
Strawberries Upward: The Vertical Farming Revolution

GroSpace - Strawberry planting vertical hydroponics

Strawberries, with their vibrant colors and juicy sweetness, have a way of brightening our day. But what if we told you that you could enjoy these delectable berries year-round, even in limited space? Welcome to the world of vertical strawberry farming, where innovation knows no bounds!

Growing Up, Not Out:

Vertical farming is a revolutionary approach that takes farming to new heights, quite literally. Instead of traditional horizontal fields, vertical farms use stacked layers or shelves to cultivate crops, including strawberries. This innovative technique provides numerous advantages, especially for space-challenged urban environments.

The Vertical Strawberry Timeline:

Now, let’s explore how vertical farming influences the growth timeline of strawberries:

1. Rapid Germination and Vegetative Growth: Vertical farms create ideal conditions for germination and vegetative growth. Controlled environments with optimized temperature, humidity, and lighting allow strawberry plants to sprout quickly and develop lush foliage and roots.

2. Efficient Use of Space: In vertical farming, space is a valuable commodity. Strawberries thrive in vertical towers or shelves, maximizing land use efficiency. You can grow a considerable number of strawberry plants in a relatively small footprint.

3. Year-Round Harvest: With vertical farming, the traditional constraints of seasons and weather conditions fade away. You can enjoy a year-round strawberry harvest, regardless of external factors.

4. Precise Control: Vertical farming offers precise control over environmental variables, including light, temperature, and nutrient delivery. This control can lead to consistent and bountiful yields.

5. Reduced Pest and Disease Pressure: Elevated growing spaces can be easier to monitor and protect against pests and diseases. Vertical farms often employ advanced pest management techniques, reducing the need for pesticides.

6. Minimal Water Usage: Vertical farms are designed for efficient water use. Hydroponic or aeroponic systems deliver nutrients directly to the plants, reducing water wastage.

7. Enhanced Pollination: Vertical farms can integrate advanced pollination techniques, such as automated systems or even drones, to ensure thorough and efficient pollination of strawberry blossoms.

8. Harvest at Your Fingertips: Vertical strawberry towers make harvesting a breeze. No more bending down or searching through foliage; the strawberries are conveniently at eye level.

A Greener Future:

Vertical strawberry farming aligns with the principles of sustainability. It reduces the need for long-distance transportation, minimizes resource consumption, and limits exposure to pesticides. It’s a step toward a greener, more efficient future of food production.

So, whether you’re a city dweller with limited garden space or a seasoned farmer exploring innovative solutions, vertical strawberry farming opens a world of possibilities. With year-round strawberries right at your fingertips, your love for these delightful berries knows no bounds. Welcome to the future of strawberry cultivation, where the sky’s the limit! 🍓🌆🌱
Posted on

The Sweet Science of Strawberry Farming: From Seed to Sumptuous Berry

If you’re a fan of succulent, juicy berries, then strawberries are likely high on your list of favorites. And if you’ve ever dabbled in gardening, you’ve probably wondered, “How long does it take for strawberries to grow?” Well, grab your gardening gloves and let’s dive into the fascinating journey of strawberry farming!

60 to 90 Days of Anticipation:

On average, it takes anywhere from 60 to 90 days for a strawberry plant to complete its transformation from a tiny seed to a luscious, ripe berry. However, the duration of this developing phase can vary, and here’s why:

Growing Conditions Matter:

Strawberries are nature’s perfectionists, and they’re quite sensitive to their surroundings. The time it takes for strawberries to grow depends on the growing conditions you provide:

  • Temperature: Warmer temperatures generally speed up the process. In cooler climates or during the winter months, growth may take longer.
  • Sunlight: Strawberries adore sunlight. Ample exposure to the sun can accelerate their growth and yield sweeter berries.
  • Soil Quality: Rich, well-draining soil that’s properly fertilized can provide the nutrients necessary for robust growth.
  • Watering: Consistent and adequate watering is essential. Dry spells can slow down the strawberry’s growth significantly.

Phases of Growth:

Understanding the phases of a strawberry plant’s growth can shed light on the timeline:

  1. Germination (7-14 days): It all begins with a tiny seed. During germination, the seed sprouts, forming the first leaves and roots.
  2. Vegetative Growth (2-4 weeks): The plant focuses on leaf production and root development during this phase.
  3. Flower Bud Formation (4-6 weeks): As the plant matures, it starts to form flower buds. These buds will eventually become strawberries.
  4. Flowering and Fruiting (2-3 weeks): The plant bursts into beautiful white flowers, which gradually transform into green fruit. As the berries ripen, they turn into the vibrant red strawberries we adore.
  5. Harvest (ongoing): Once the berries reach their full ripeness, it’s time to enjoy the fruits of your labor! Strawberries can continue to produce throughout the growing season.

Patience Rewarded:

While it might seem like a waiting game, the joy of watching your strawberry plants thrive and eventually yield plump, delicious berries is well worth it. And don’t forget, you can extend your strawberry season by planting multiple varieties that ripen at different times.

So, whether you’re a seasoned gardener or a newbie in the world of strawberry farming, understanding the growth timeline and the factors that influence it can help you cultivate a bumper crop of these delectable red gems. Happy strawberry growing! 🍓🌱🌞

Posted on

Grafting Tomato onto Potato Rootstock: Exploring Different Methods for Success

Introduction:

Grafting is a fascinating technique that allows gardeners to combine the desirable traits of different plant species, resulting in improved disease resistance, higher yields, and enhanced vigor. One intriguing grafting approach involves uniting tomato scions with potato rootstock. In this guide, we’ll dive into the various grafting methods used to create this unique combination and explore the steps to ensure a successful fusion between these two plants.

Method 1: Whip-and-Tongue Grafting

Whip-and-tongue grafting is a popular technique for joining tomato scions and potato rootstock. Here’s how it’s done:

  1. Prepare the Scion and Rootstock: Select a healthy young tomato seedling (scion) and a potato plant (rootstock) with matching stem diameters. Cut both stems diagonally to create matching “tongues.”
  2. Join the Pieces: Insert the tongue of the tomato scion into the tongue of the potato rootstock, creating a snug fit. Use a sharp, clean grafting knife for precise cuts.
  3. Secure the Graft: Wrap the graft union with a rubber clip or grafting tape to hold the scion and rootstock together tightly. Ensure that no air gaps are present.
  4. Healing Period: Place the grafted plant in a humid environment for about a week to encourage successful union. A humidity dome or plastic bag can be used for this purpose.

Method 2: Cleft Grafting

Cleft grafting is another effective method for combining tomato and potato plants:

  1. Prepare the Rootstock: Cut the potato rootstock vertically to create a cleft or “V”-shaped opening.
  2. Insert the Scion: Trim the tomato scion to fit the cleft in the rootstock. Insert the scion into the cleft, ensuring a snug fit.
  3. Secure and Heal: Use grafting tape or rubber clips to secure the scion in place. Allow the grafted plant to heal in a humid environment.

Method 3: Side Grafting

Side grafting is a simpler method that works well for grafting smaller tomato scions onto potato rootstock:

  1. Select a Potato Shoot: Choose a potato shoot with the same diameter as the tomato scion.
  2. Make a T-shaped Incision: Make a horizontal cut at the top of the potato shoot, followed by a vertical cut to create a “T” shape.
  3. Insert the Scion: Trim the tomato scion to fit the T-shaped incision in the potato shoot. Slide the scion into the incision, creating a snug fit.
  4. Secure and Heal: Use grafting tape or rubber clips to hold the scion in place. Allow the grafted plant to heal in a humid environment.

Tips for Successful Grafting:

  1. Choose Healthy Plants: Both the tomato scion and potato rootstock should be healthy, disease-free, and of similar size.
  2. Use Clean Tools: Ensure your grafting knife is sharp and sanitized to make clean, precise cuts.
  3. Maintain Humidity: During the healing period, keep the grafted plants in a humid environment to encourage successful union.
  4. Monitor Growth: Once the graft has healed, monitor the growth of the combined plant. Trim any unwanted shoots that emerge from the rootstock.

Conclusion:

Grafting tomato onto potato rootstock is an exciting endeavor that combines the strengths of two distinct plants. By employing techniques like whip-and-tongue grafting, cleft grafting, or side grafting, gardeners can successfully create this unique fusion. With careful preparation, precise execution, and attention to healing conditions, you’ll unlock the potential of a tomato-potato hybrid that showcases the wonders of plant grafting. Experiment with different methods, refine your skills, and enjoy the rewards of a garden that bears testament to your grafting expertise.

Posted on

Mastering Grafting: Boosting Cucumber Strength with Squash Roots

This writeup was prepared based on the following informative video:

Gardening is often a dance of innovation and experimentation. One fascinating technique that has gained popularity is grafting cucumbers onto squash rootstocks. This intriguing process offers a range of benefits, particularly in enhancing the cucumber’s tolerance to low temperatures, especially when it comes to chilly soil conditions. Join us in unraveling the secrets of grafting cucumbers onto squash rootstocks using the “one cotyledon” or splice grafting method.

Tools of the Grafting Trade:
To embark on this journey, let’s familiarize ourselves with the tools that will facilitate the grafting process:

  • Grafting Clips: These nifty little contraptions are aptly called side grafting clips. Unlike their tube grafting counterparts used for tomatoes, these clips come in various shapes and colors.
  • Razor Blade: Just as we utilized it for tomatoes, a razor blade is the instrument of choice for precise cutting during grafting.
  • Plastic Tubes: These tubes play a crucial role in holding the newly grafted plants together after the procedure. You’ll witness their significance shortly.

The Cotyledon Cut:
The initial step in our grafting endeavor involves snipping off one of the cotyledons (often referred to as leaves) from the rootstock. Furthermore, all the true leaves should be meticulously removed. Here’s a crucial detail: pay special attention to eliminating the apical meristem tissue, which consists of undifferentiated cells at the base of the axillary bud. If this tissue isn’t entirely removed, the shoots of the rootstocks will take over and outgrow the scion shoots, ultimately leading to a substantial reduction in the yield of scion plants.

Take a glance at three rootstock plants. In the first, the axillary bud remains, resulting in rootstock shoots sprouting. In the second, although no visible axillary bud is present, there’s still a slim chance of rootstock regrowth. The third plant, however, exhibits minimal chances of rootstock regrowth, demonstrating the significance of removing apical meristematic cells.

The Art of Grafting: One Cotyledon Method:
Now, let’s delve into the intricate process of grafting using the one cotyledon or splice grafting technique. Here’s a step-by-step breakdown:

  1. Cut the hypocotyl of the scion plant at an angle, mirroring the cutting angle of the rootstock.
  2. Meticulously align the two cut surfaces and secure them in place using a grafting clip.

A Timely Union:
Timing is of the essence in grafting. Make sure to attach and tighten the scion and rootstock cutting surfaces before they have a chance to dry out, which could occur within a matter of minutes. It’s advisable to complete the grafting process for one plant before moving on to the next. Avoid cutting multiple rootstocks and scions separately and then attempting to attach the surfaces.

Size Matters:
Ideally, the splice grafting method works best when both rootstock and scion plants have similar stem diameters. However, practicality sometimes requires adapting to differing sizes. Keep in mind that if your rootstock’s stems have developed significant hollow areas, don’t wait—proceed with grafting.

A Gentle Support:
Once the grafting is complete, provide support to the grafted plants using a small plastic straw inserted through the clip. Avoid wooden stakes, as they may become a breeding ground for mold under high humidity conditions, compromising the healing process.

Caring for Grafted Cucumber Plants:
The journey doesn’t end with the grafting process. Grafted cucumber plants require a warm and humid environment for healing. Ensuring optimal conditions during this phase will set the stage for robust and thriving plants.

Incorporating the “one cotyledon” or splice grafting method into your gardening repertoire opens the door to a world of possibilities. As you navigate through this technique, you’ll not only witness the fascinating union of cucumbers and squash but also unlock the potential for heartier, more resilient plants that thrive even in challenging temperature conditions. Happy grafting!

Posted on

Harvesting and Beyond: Nurturing Your Multi-Crop Garden Bed

Greetings, fellow gardening enthusiasts! It’s time to gather once again as we embark on the next chapter of our multi-crop garden journey. In our previous posts, we planted a vibrant tapestry of tomatoes, melons, sugar beans, and basil, creating a harmonious blend of flavors and benefits. Now, let’s delve into the art of harvesting, preserving, and nurturing your garden bed for the seasons to come.

Reaping the Fruits of Your Labor:

As the sun-soaked days of summer gently transition into the cool embrace of fall, the moment of truth arrives – harvest time! Step into your garden bed with a sense of anticipation, for the rewards of your labor are about to be revealed.

Tomatoes: The beefsteak tomatoes that once graced your garden with their vibrant presence are now ready to be plucked. Their firm texture and rich color signal their readiness. Gently cradle them in your hand and with a satisfying twist, detach them from the vine. Whether destined for caprese salads, hearty sauces, or a simple tomato-mozzarella sandwich, your homegrown tomatoes are the stars of the season.

Melons: The melons, once small and green, have matured into luscious orbs of sweetness. A gentle tug and a slight twist are all it takes for them to part ways with the vine. As you cut into their aromatic flesh, the promise of juicy indulgence fills the air. These melons are the epitome of summer’s bounty, whether enjoyed fresh, blended into smoothies, or transformed into refreshing sorbets.

Sugar Beans: Along the outer edges of your garden bed, the sugar bean plants stand adorned with pods, each containing a treasure trove of flavor. A simple pinch and pull release the pods, revealing the plump beans within. As you savor their earthy taste and tender texture, consider their potential in a variety of dishes – from hearty stews to vibrant salads.

Basil: The fragrant basil leaves, bursting with essential oils, beckon to be gathered. With a careful snip, you harvest this aromatic herb that has enhanced your culinary creations throughout the season. Basil pesto, infused oils, and fresh garnishes await as you celebrate the herb’s versatility.

Preservation and Beyond:

As the last fruits are harvested and the final leaves plucked, it’s time to consider how to make the most of your garden’s offerings.

Preservation: Extend the joy of your harvest by preserving the flavors of summer. Consider making batches of tomato sauce, freezing melon cubes for future use, or drying basil leaves to create your own aromatic seasoning. Preservation allows you to relish the tastes of your garden even during the colder months.

Composting: As your garden bed begins its transition, remember that every end is a new beginning. Gather spent plants, leaves, and trimmings to create nutrient-rich compost that will nourish your garden in the future. Composting is a sustainable way to give back to the earth and ensure the vitality of your soil.

Cover Crops and Crop Rotation: Embrace the practice of cover cropping to enrich and protect your garden bed during fallow periods. Planting nitrogen-fixing cover crops like legumes can improve soil fertility, suppress weeds, and prevent erosion. Rotate your crops to promote soil health and reduce the risk of pests and diseases.

Planning for Succession: As one season gives way to the next, plan your garden’s succession. Research cool-season crops such as spinach, kale, and radishes that thrive in the changing climate. Succession planting ensures a continuous harvest and maximizes the use of your garden space.

Companion Planting: When planning your next season, consider companion planting for your melons. Interplanting with marigolds, nasturtiums, or borage can help deter pests, improve pollination, and enhance the overall health of your garden bed.

The Joy of Gardening Continues:

As the days grow shorter and the air carries a hint of crispness, your garden bed is a testament to your dedication and passion. The flavors you’ve cultivated, the lessons you’ve learned, and the sense of connection to nature all come together in this vibrant patch of earth.

As you savor the last bites of your homegrown harvest, remember that the joy of gardening is an ongoing journey. Whether you’re preparing the soil, planting seeds, nurturing young plants, or reaping the rewards, each phase holds its own unique magic. So, fellow gardeners, embrace the changing seasons, celebrate your achievements, and look forward to the chapters that await in your ever-evolving garden tale. Until next time, may your garden continue to flourish and inspire!

Posted on

Contract hatchery and rearing program

Dear Hatchery Owner,

We trust this message finds you in good health and high spirits. GroChick, a specialist in supply chain development for poultry businesses, is excited to present you with an exclusive partnership opportunity designed specifically for hatchery owners. We believe that this partnership can significantly benefit your poultry operation and align with your goals in the industry.

About GroChick:

GroChick specializes in the supply chain development of poultry businesses with a mission to give access to a greater community of stakeholders by democratising poultry. Our expertise lies in the production of fertile eggs, ensuring a consistent supply of top-tier genetics.

Supply Chain Options:

Hatchery owners have two options to plug into the supply chain:

  1. Hatch Fertile Eggs from GroChick:
    • GroChick offers high-quality fertile eggs, ensuring a consistent supply of top-tier genetics.
    • These fertile eggs are specially selected to meet the highest industry standards.
  2. Feed Supply for Input Costs:
    • In addition to fertile eggs, GroChick will provide the necessary feed to cover input costs associated with feeding the growing chicks.

Supply Agreement Terms:

  1. Fertile Egg Supply:
    • GroChick will provide high-quality fertile eggs at competitive rates exclusively for hatchery owners like you.
  2. Feed Supply for Input Costs:
    • We will supply the required feed to cover the input costs associated with feeding the growing chicks.
  3. Support and Guidance:
    • We provide ongoing support and guidance to ensure the health and well-being of the chicks during the hatching and early growth phases.

Quality Standards:

  • GroChick maintains rigorous quality control standards for our fertile eggs. They are guaranteed to be of the highest quality, ensuring successful hatching.

Vaccination and Health Protocols:

  • We adhere to a strict vaccination schedule to ensure the long-term health and productivity of the birds.
  • [Include relevant details of the vaccination schedule here].

Next Steps:

If you find our proposal aligns with your goals and requirements, GroChick would be delighted to arrange a meeting or further discussions to formalize our exclusive partnership. The health and success of your poultry operation are paramount to us, and we are dedicated to delivering the highest standards of service and quality.

We look forward to the opportunity of collaborating with you, as a hatchery owner, to enhance your poultry production endeavors. Together, we can contribute to the democratization of poultry production and expand access to a broader community of stakeholders.

Please feel free to contact us at your convenience to discuss this exclusive proposal or request additional information.

Thank you for considering this opportunity, and we look forward to the possibility of working together.

Sincerely,

Posted on

Follow these vaccination schedules for rearing chicks

Follow this vaccination schedule for layer hens (pullets)

Here’s the vaccination schedule presented as a table:

AgeMedication/VaccinationMethod of Administration
At the hatcheryMarek’s disease vaccineOn the neck
Day 1Vitamins, glucoseDrinking water
Day 4Antibiotics and vitaminsDrinking water
Day 7CoccidiostatDrinking water
Day 9Newcastle diseaseDrinking water
Day 121st infectious bronchitis disease vaccineEye drop/Drinking water
Day 14Infectious bursal vaccine (Gumboro)Drinking water
Day 16CoccidiostatDrinking water
Day 17Fowlpox vaccineWing web
Day 26VitaminsDrinking water/feed
Day 282nd Gumboro/ IBDV vaccineDrinking water
Day 30DewormingDrinking water/feed
Week 42nd Newcastle disease (NDV) vaccineDrinking water, I/O
Week 42nd infectious bronchitis vaccineDrinking water
Week 8Avian Encephalomyelitis (AE) vaccineWing web stab
Week 91st Infectious coryza vaccineIntramuscular
Week 103rd Newcastle disease vaccineIntramuscular
Week 12Fowlpox vaccineWing web
Week 122nd infectious coryzaIntramuscular
Week 123rd infectious bronchitis vaccineDrinking water
Week 16Laryngotracheitis vaccineI/O eye drop/spray
Week 17The 3 in one vaccine for egg drop syndrome, IB, and NDIntramuscular

This table presents the vaccination schedule in a clear and organized format.

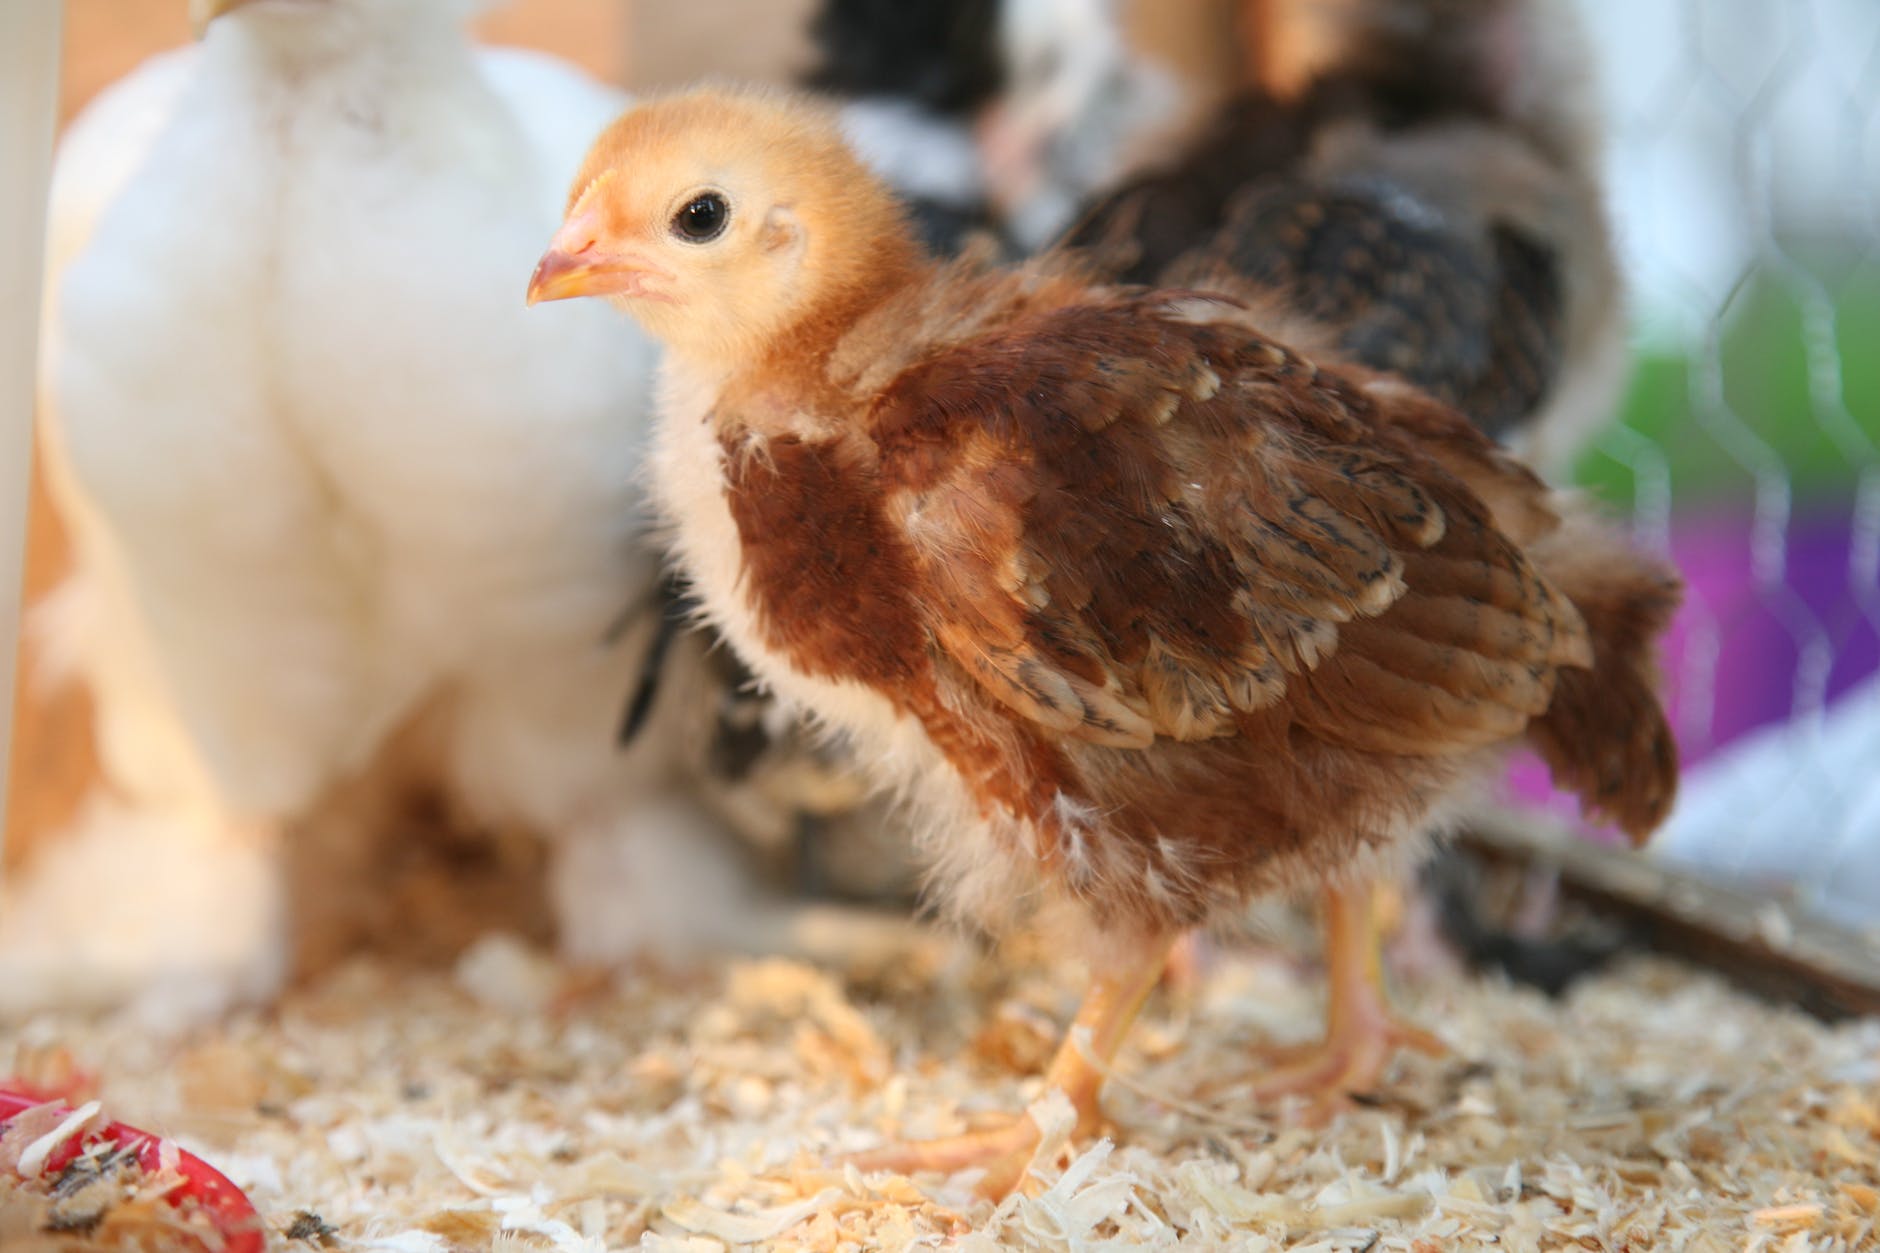
brown chick

Follow this vaccination schedule for broilers

Vaccination schedule for broiler chickens

AgeMedication of vaccinationMethod of administration
At the hatchery Marek’s disease (MD) vaccinesI/M (intramuscular) injected on the back of the neck.
Day 1I/O vaccines+Vitamins+GlucoseDrinking water (DW)
Day 1Infectious bronchitis vaccinesBeak dip.
Day 3Antibiotics+Vitamins.Drinking water
Day 7on Coccidiostat (acts on protozoan parasites in birds)Water consumption
Day 91st infectious bursal disease (IBD) vaccine.Intraocular (I/O) as eye dropDrinking water.
Day 12Newcastle disease (ND) vaccinesDrinking water.
Day 14CoccidiostatDrinking water
Day 162nd IBD vaccineOral, Drinking water
Day 18FowlpoxWing web stab
Day 28DewormerDrinking water
white duckling on grass
Posted on

Can bush beans and runner beans hybridise?

Bush beans (Phaseolus vulgaris) and runner beans (Phaseolus coccineus) can potentially hybridize under certain conditions. Both types of beans belong to the same genus, Phaseolus, which means they are closely related and have the ability to cross-pollinate.

Cross-pollination between bush beans and runner beans is more likely to occur if they are grown in close proximity and share flowering periods. Beans are typically self-pollinating, meaning they have both male and female reproductive organs within the same flower. However, they can also be cross-pollinated by insects, including bees, which can carry pollen from one type of bean to another.

The extent of hybridization will depend on factors such as the distance between the plants, the population of pollinators in the area, and the timing of flowering. Hybrids between bush beans and runner beans may exhibit traits of both parent plants and may have unique characteristics not found in either parent.

For most home gardeners, accidental hybridization between bush beans and runner beans is not a common concern, especially if different types of beans are planted at a reasonable distance from each other. If you want to prevent cross-pollination and maintain the true characteristics of each bean type, consider spacing them apart or using physical barriers like row covers.

However, if you are intentionally experimenting with plant breeding and want to create hybrid beans, you can perform controlled hand pollination by transferring pollen from one plant to another. Keep in mind that breeding beans requires some knowledge of plant genetics and controlled breeding techniques.

Posted on

Will sweet peppers or bell peppers cross pollinate with tomatoes and hybridise

Sweet peppers, also known as bell peppers, and tomatoes belong to the same plant family called Solanaceae or the nightshade family. While they can cross-pollinate under certain circumstances, they will not naturally hybridize with each other.

Cross-pollination between sweet peppers and tomatoes is unlikely to occur in most garden settings because they have separate and distinct flower structures, and their pollen is not easily transferred between them by typical pollinators like bees and other insects.

However, if you are intentionally trying to cross-pollinate sweet peppers and tomatoes for experimental or breeding purposes, it can be done through controlled hand-pollination methods. This process involves manually transferring pollen from one plant’s flower to another, effectively creating a hybrid seed.

Keep in mind that hybridizing peppers and tomatoes can be quite challenging and requires a good understanding of plant genetics and controlled breeding techniques. Additionally, the resulting hybrid offspring may not always have the desired traits, making the process time-consuming and unpredictable.

For most home gardeners, accidental cross-pollination between sweet peppers and tomatoes is unlikely to occur, and you can grow these two plants in close proximity without concerns about hybridisation.

Here’s some more information about sweet peppers (bell peppers) and tomatoes, including their characteristics, growing conditions, and how to prevent accidental cross-pollination:

Sweet Peppers (Bell Peppers):

  • Sweet peppers, also known as bell peppers or capsicums, are popular vegetables known for their crisp texture and sweet flavor. They come in various colors, including green, red, yellow, orange, and even purple.
  • Sweet peppers are rich in vitamins A and C and contain antioxidants that contribute to their vibrant colors.
  • They are warm-season plants that thrive in full sunlight and well-draining soil. Sweet peppers are typically grown as annuals in most regions, as they are sensitive to frost and cold temperatures.
  • Depending on the variety, sweet peppers can be grown as compact bushy plants or tall, vining types that may benefit from staking or support as they grow larger.
  • Sweet pepper flowers are self-pollinating, meaning they do not require pollinators like bees for successful fruit set. Each flower contains both male and female reproductive parts, allowing for self-fertilization.

Tomatoes:

  • Tomatoes are one of the most popular and widely cultivated vegetables globally, prized for their versatility and delicious taste.
  • They come in various shapes, sizes, and colors, including red, yellow, orange, pink, green, and even black or purple.
  • Tomatoes are rich in vitamins A and C, antioxidants like lycopene, and other beneficial compounds.
  • Like sweet peppers, tomatoes are warm-season plants that prefer full sunlight and well-draining soil. They are also grown as annuals in most regions.
  • Tomatoes can be either determinate (bushy) or indeterminate (vining) in their growth habit. Indeterminate tomatoes benefit from staking or trellising to support their sprawling vines.
  • Tomato flowers are also self-pollinating, with each flower containing both male and female parts.

Preventing Accidental Cross-Pollination:

While sweet peppers and tomatoes are unlikely to cross-pollinate on their own, there are some steps you can take to further prevent accidental hybridization if you want to save seeds or maintain true-to-type varieties:

  1. Isolate Different Varieties: If you are growing multiple varieties of either sweet peppers or tomatoes, try to keep them separated by a distance of at least 30 feet (about 9 meters). This distance will prevent accidental pollen transfer between different varieties.
  2. Hand Pollination: If you are intentionally breeding or experimenting with hybridization, you can perform controlled hand pollination. Use a small brush or cotton swab to transfer pollen from the male flower to the female flower.
  3. Time Planting: To reduce the chances of flowering overlap, you can time your planting so that the flowering periods of sweet peppers and tomatoes do not coincide.

Remember, accidental hybridization between sweet peppers and tomatoes is not a common concern for most home gardeners, and growing them in close proximity is generally not an issue. Enjoy the process of growing these delicious and nutritious vegetables in your garden!

Will chillies and bell peppers hybridise?

Yes, chillies (hot peppers) and bell peppers (sweet peppers) can hybridize under certain circumstances. Both belong to the same plant family, Solanaceae, and they have the potential to cross-pollinate if they are grown in close proximity and share flowering periods.

Cross-pollination between chillies and bell peppers is more likely to occur when they are planted in the same garden or in neighboring gardens, where pollinators like bees and other insects can move between the flowers of both plants.

The extent of hybridization will depend on several factors, including the distance between the plants, the population of pollinators in the area, and the timing of flowering. However, it’s important to note that hybridization between these two types of peppers is not always guaranteed, and many factors can influence the success of cross-pollination.

For most home gardeners, the chances of accidental hybridization between chillies and bell peppers are relatively low, especially if they are mindful of planting different varieties of peppers at a reasonable distance from one another. Additionally, hand pollination can be used for controlled breeding if intentional hybridization is desired.

If saving seeds is a concern, and you want to ensure true-to-type varieties, consider either planting different types of peppers at a distance or using physical barriers like row covers to prevent cross-pollination. This will help maintain the distinct characteristics of each variety.

Posted on

Get rich farming Sustainably and quickly build fertile soil in your garden

Innovative Fly-Attracting Techniques in the Garden

Incorporating rotting manure into your garden walkways is an innovative and eco-friendly method to attract flies and enhance pollination while improving soil health and water management. By strategically placing rotting manure in your garden pathways, you can create an inviting environment for flies, which will, in turn, contribute to the pollination of your crops.

The Fly-Attracting Advantage of Rotting Manure

Flies are naturally drawn to rotting organic matter, and by strategically placing manure in your garden walkways, you create a hub for these beneficial insects. As the manure breaks down over time, it releases odors and compounds that attract flies, encouraging them to visit your garden regularly.

Soil Health and Water Management Benefits

In addition to attracting flies, incorporating rotting manure into your garden walkways offers numerous benefits to soil health and water management. As you walk on the manure, it gradually breaks down, releasing valuable nutrients into the soil. This process enhances soil fertility and provides a nutrient-rich environment for your plants to thrive.

Moreover, the manure pathways act as natural water collection points during rainfall or irrigation. By directing runoff from your garden beds towards these pathways, you can effectively capture and store water, optimizing its use and reducing wastage.

Strategic Bed Rotation for Optimal Results

To maximize the benefits of your fly-attracting manure pathways, consider shifting your garden beds by 2 feet (or 60 cm) with each planting cycle. This rotation technique helps ensure that your heavy feeders, such as fruiting crops or plants that require more nutrients, are positioned on the manure-enriched pathways during their growth phase.

As the plants draw nutrients from the enriched soil, they will benefit from the decomposing manure and the increased fly activity, which contributes to better pollination and healthier crops.

A Sustainable Approach to Gardening

Embracing this fly-attracting technique in your garden exemplifies a sustainable and regenerative approach to gardening. By harnessing the natural behaviors of flies and utilizing rotting manure, you create a self-sustaining ecosystem that supports plant growth, enhances pollination, and conserves water resources.

Considerations and Best Practices

When implementing rotting manure pathways in your garden, consider the following best practices:

  1. Use Organic Manure: Opt for organic manure from reputable sources to ensure it is free from harmful chemicals and pesticides.
  2. Maintain Adequate Pathway Depth: Ensure that the manure pathways are deep enough to attract flies and allow for decomposition but not so deep that they become a tripping hazard.
  3. Complement with Other Pollinator-Friendly Practices: While flies are beneficial pollinators, remember to continue supporting other pollinators like bees and butterflies by providing a diverse range of flowering plants throughout your garden.
  4. Regular Maintenance: Regularly replenish and turn over the manure to maintain its appeal to flies and ensure even decomposition.

Conclusion

Incorporating rotting manure into your garden pathways to attract flies is an innovative and effective way to promote pollination and improve soil health. As you walk on the manure, it not only attracts flies for pollination but also enriches the soil with essential nutrients and aids in water management. By thoughtfully rotating your garden beds, you optimize the benefits of this approach, ensuring healthy, thriving crops throughout your gardening journey.

This sustainable gardening technique highlights the beauty of working in harmony with nature, creating a vibrant and productive garden that gives back to both you and the environment. Let’s continue to explore and embrace innovative methods that support biodiversity, pollinators, and regenerative practices in our gardens.